
Identifying and Resolving Anilox Roller Problems
From the first sign to targeted action: prevent quality loss, downtime, and unnecessary damage.
Assess Your Anilox Problem
Recognize the sign, choose the right approach.
Defects on an anilox roller can develop gradually or suddenly. Recognize the signs and act quickly to choose the appropriate cleaning, inspection, or replacement.
Keep an eye on

Keep an eye on
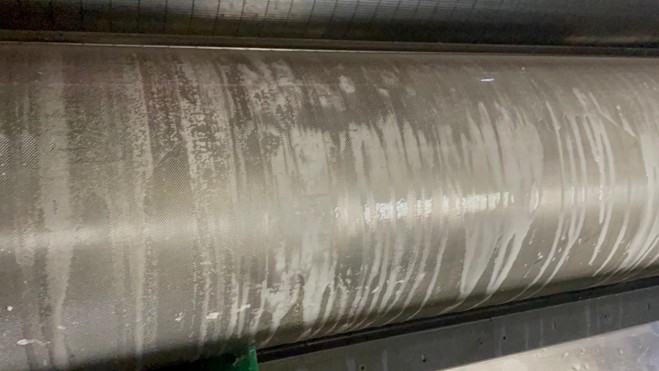
Aluminum
Dull, grayish streaks or a metallic sheen.
View the solution →
act immediately
cannot be cleaned

Take immediate action
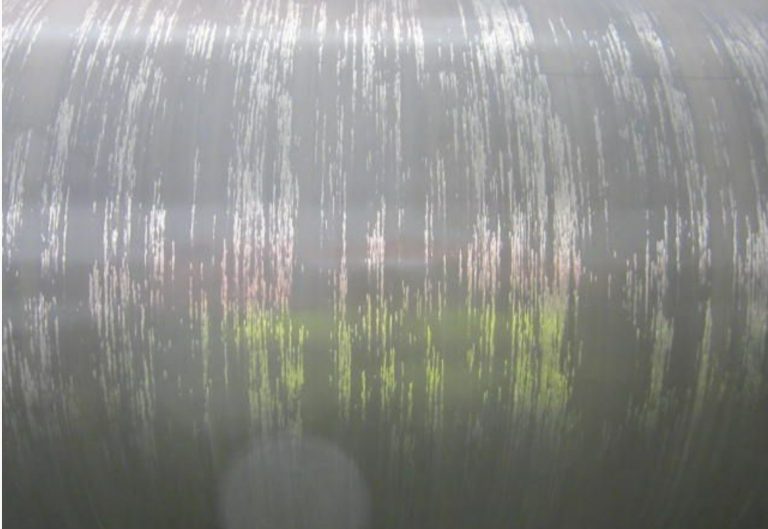
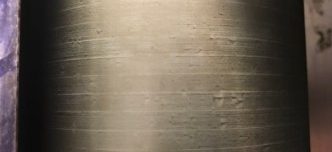
Tiger stripes
Fine, parallel scratches on the rolling surface.
Here's how we do it
First, identify the cause; then take the appropriate action.
Recognizing Signs Early
Poor ink transfer, streaks, color variations, or stubborn contamination can have various causes. Examine the visible result as well as the condition of the anilox surface and the cleaning process.
The cause determines the approach
We assess the type of contamination or damage, its severity, and the roll's history. This helps prevent a cleaning effort from merely shifting the problem elsewhere, or a roll that can be repaired from being unnecessarily written off.
What's in it for you
Frequently Asked Questions
Quick answers to the most frequently asked questions.
What are the most common problems with anilox rolls?
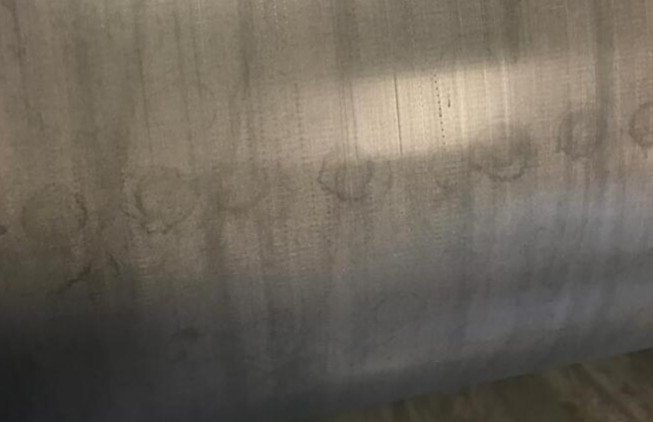
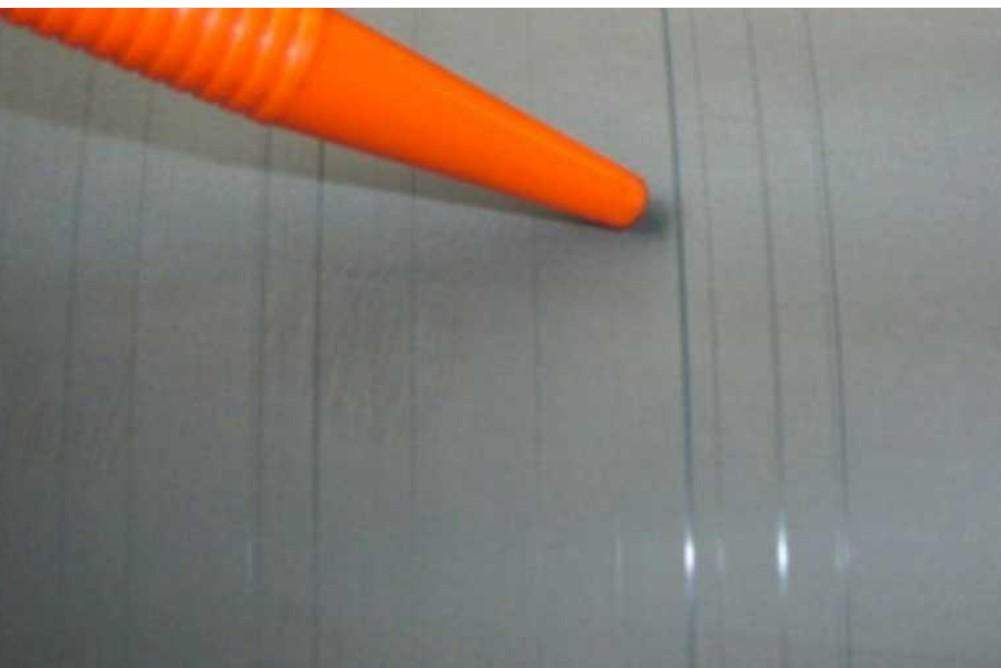
The most common problems are spots, calcium, starch, aluminum, tiger stripes, score lines, and (under)corrosion. Spots, calcium, starch, and aluminum are forms of contamination or deposits that can be addressed with the proper cleaning. Tiger stripes and score lines are types of damage that require prompt action. With (under)corrosion, the damage is permanent, and cleaning will no longer help. On this page, you’ll find information on how to identify each problem and what the solution is.
How can I tell if an anilox roller is clogged?
You can tell if an anilox roller is clogged by looking at the print image: reduced ink transfer, color variations, streaks, or contamination that reappears after cleaning. On the roller itself, you may sometimes see a dull, sticky layer inside the cells. Not sure? A measurement or inspection will show whether the cells still have their full volume.
What is the best way to clean an anilox roller?
With a fixed two-step cleaning routine. Clean the roller daily after printing, for example with FC1000SL, either inline in the press or manually. Periodically, at a set time, perform a more thorough cleaning, for example with Anilox Power Boost. This allows you to delay deep cleaning with Anilox Cleaner or Ultrasonic Cleaner for as long as possible. Only perform deep cleaning when daily and periodic cleaning are no longer sufficient.
How often do you clean an anilox roller?
Daily cleaning is part of every production day. How often periodic cleaning is needed depends on your production, the inks you use, and the condition of your rollers. Our recommendation is periodic cleaning every 4–6 weeks. Our specialists will help you determine an interval that suits your situation.
Can you have an anilox roller repaired?
That depends on the damage. Dirt and deposits can be removed with the proper cleaning. For damage such as scratch marks or (under)corrosion, an inspection will determine whether repair is still possible or if replacement is necessary. Please send us photos of the roller and the print image for an initial assessment.
Are you unsure about the condition of your anilox roller?
Please contact us if the print quality deteriorates, if cleaning does not yield satisfactory results, or if you suspect that the surface is damaged. We’ll help you pinpoint the problem and work with you to determine the best course of action: targeted cleaning, inspection, repair, or replacement.
This allows us to make the initial assessment faster and more targeted.