


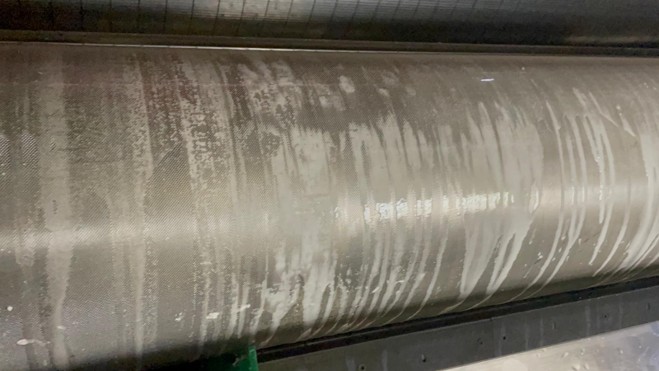
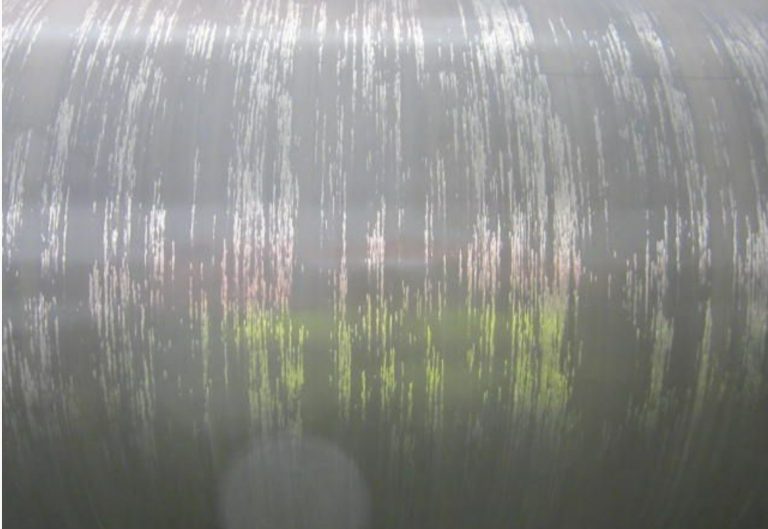


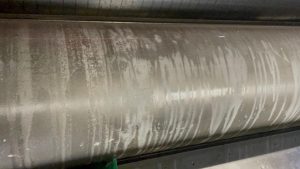
Spots appear as irregular, cloudy or hazy spots on the grid surface.
They often vary in size and shape, and can be difficult to detect without oblique light or close inspection.
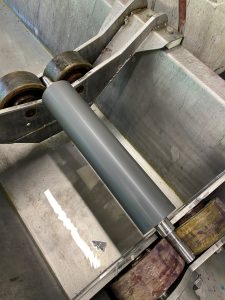
In this photo, several diffuse light spots are visible on the roll, indicating residue or accumulation affecting cell volume and print consistency.
Accumulation of dried ink, coating residue or crystallization of cleaning products in the cells or on the roller surface.
Often caused by inadequate rinsing or ineffective daily cleaning.
Perform additional manual cleaning with a suitable detergent and sponge to remove stubborn residue. Visually inspect the roller after cleaning.
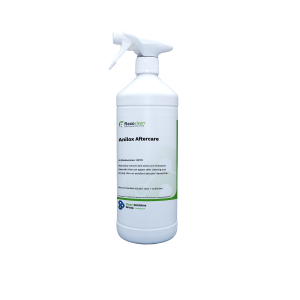
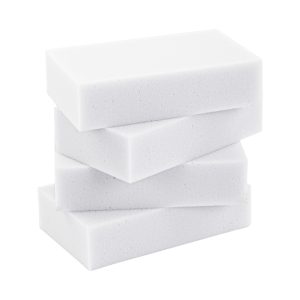
Flexoclean Anilox Aftercare or a compatible cleaner (depending on ink type). Use in conjunction with a non-abrasive cleaning sponge.
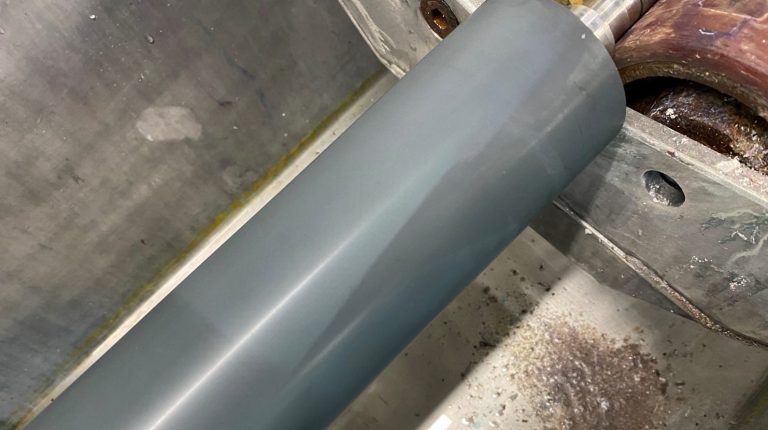
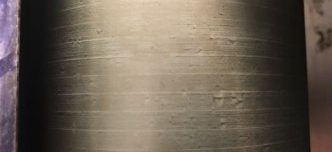
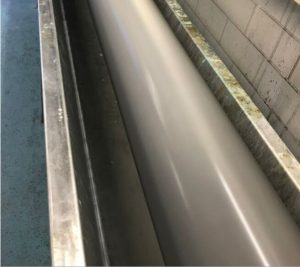
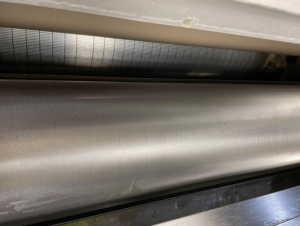
After manual cleaning, the surface should look smooth and stain-free as shown in the picture.
If stains persist, repeat the process or contact technical support.
Prevent future staining by rinsing thoroughly daily and using soft water whenever possible.
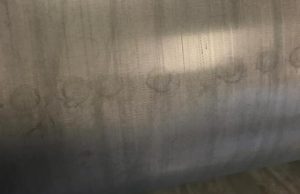
Recognizable by round, chalky "droplets" that appear in horizontal lines across the roller surface.
These deposits can impede cell volume and interfere with ink flow.
Usually caused by calcium buildup from hard water, ink components or inadequate rinsing after cleaning. Calcium deposits can also occur due to chemical interactions between cleaning agents and mineral residues.
Perform additional manual cleaning using a targeted product that dissolves mineral buildup.
Clean Solutions Group has Flexoclean Anilox Aftercare specifically for this problem. Use the product in conjunction with a non-abrasive cleaning sponge or cleaning pad.
During treatment, lime deposits should visibly dissolve and the surface should regain a uniform appearance.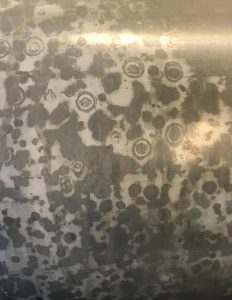
After manual cleaning, the surface should look smooth and stain-free as shown in the photo below.
Persistent buildup may indicate water quality problems or lack of cleaning frequency. If the problem persists, repeat the process or contact our technical support.
Prevent scaling by using softened water and rinsing thoroughly after each cleaning cycle.
Recognizable by round, chalky "droplets" that appear in horizontal lines on top of each other
the rolling surface.
Starch residue comes from coated substrates such as corrugated cardboard or paper.
It builds up over time due to inadequate rinsing, drying or prolonged exposure during production runs.
Perform additional manual cleaning to remove the starch layer. Ensure a proper drying and rinsing routine in the future.

For this particular anilox issue, use the Starch Buster in conjunction with a Flexoclean sponge or suitable cleaning pad.
Visible improvement within about 15 minutes of cleaning.
Repeated cleaning may be necessary for severe deposits.
After 15 minutes of cleaning
Regular, light manual cleaning helps prevent the accumulation of starch
between deep cleaning intervals.
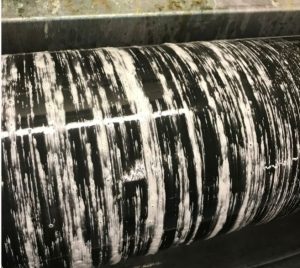
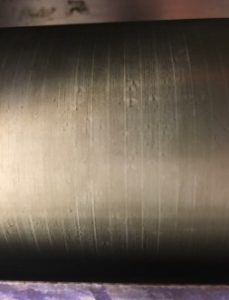
Often visible as dull, grayish smudges or metallic sheen on the surface of the anilox roll.
In some cases, discoloration or staining may occur, especially in areas of high contact or friction
Aluminum residue can come from mechanical parts, substrates or friction with metal components during production. Inadequate rinsing or incompatible cleaning agents can also contribute to buildup.
Perform additional manual cleaning with an aluminum-specific remover.
Inspect the roller and nearby components for sources of contact with aluminum.
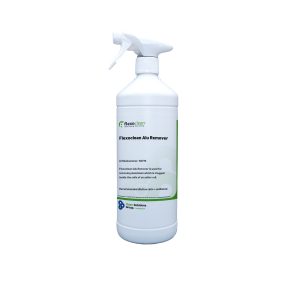 Clean Solutions Group has Flexoclean Alu Remover specifically for this problem.
Visible improvement within about 15 minutes of cleaning.
Repeated cleaning may be necessary for severe deposits.
Chemical reaction during cleaning process Result after 15 minutes
Regular inspection and proper alignment of metal parts can help prevent aluminum-related contamination.
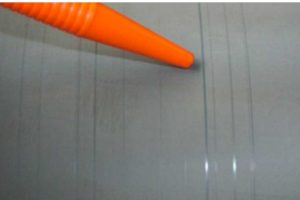
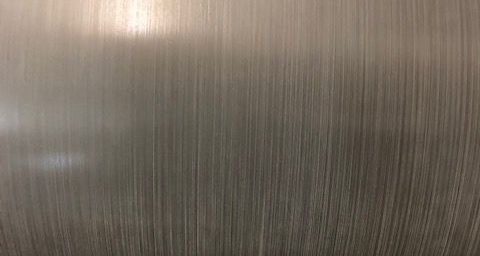
Thin, parallel lines or stripes running across the print or anilox roll.
The first image shows fine, linear marks on the roll surface.
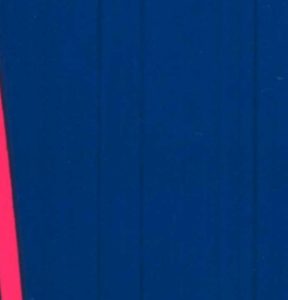
The second image shows how these stripes affect print quality in solid areas.
Score lines - also called kerf lines in Dutch - are usually caused by:
Regular maintenance and replacing the squeegee blade on a regular basis helps to prevent streaking.
Clean the blade and chamber thoroughly with the appropriate daily cleaner to remove dried ink or coating residue. If you would like advice on which cleaning agent works best for your situation, feel free to contact us.
Use a new squeegee blade if wear is visible.
A daily cleaner helps restore smooth ink transfer and eliminates streaks caused by contamination behind the blade.
Which product is best for daily cleaning in your situation depends on a number of factors, such as type of ink.
Our R&D department can advise you on this.
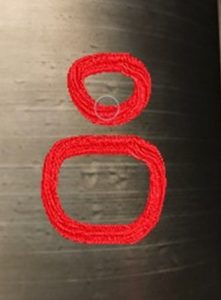
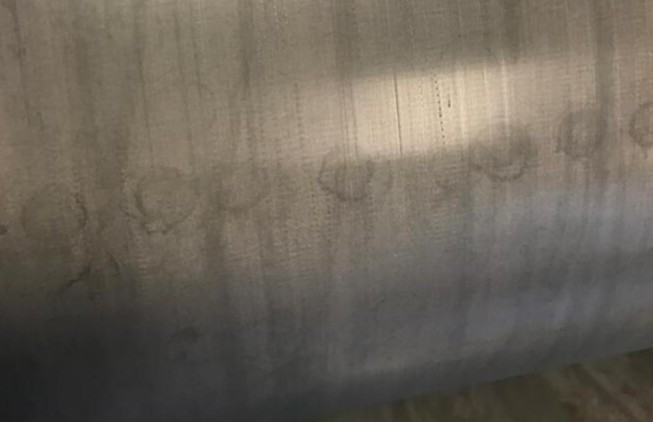
Corrosion appears as dull, rough or pitting on the grid surface.
It often takes the form of a "butterfly," a dark core (the damaged area) with a lighter area around it, similar to wings.
In the photos, the affected areas are circled in red. These areas cannot be cleaned, they are permanent damage and not surface contamination.
Caused by prolonged exposure to ink, moisture or chemical residues left on the roller.
Poor rinsing, harsh cleaning agents or long machine downtime with product residues can cause corrosion under the surface.
Unfortunately, corrosion is not cleanable.
Remove the roll from production and consult your local CSG troubleshooter for further evaluation.
Unfortunately, corrosion is not cleanable.
Remove the roll from production and consult your local CSG troubleshooter for further evaluation.